SECO/LAB
SECO/LAB is where we perform unique research and full metallographic tests for external entities, institutions, universities and commercial customers. We develop received or purchased technology and, together with product departments, create unique solutions.

SAMPLE PREPARATION
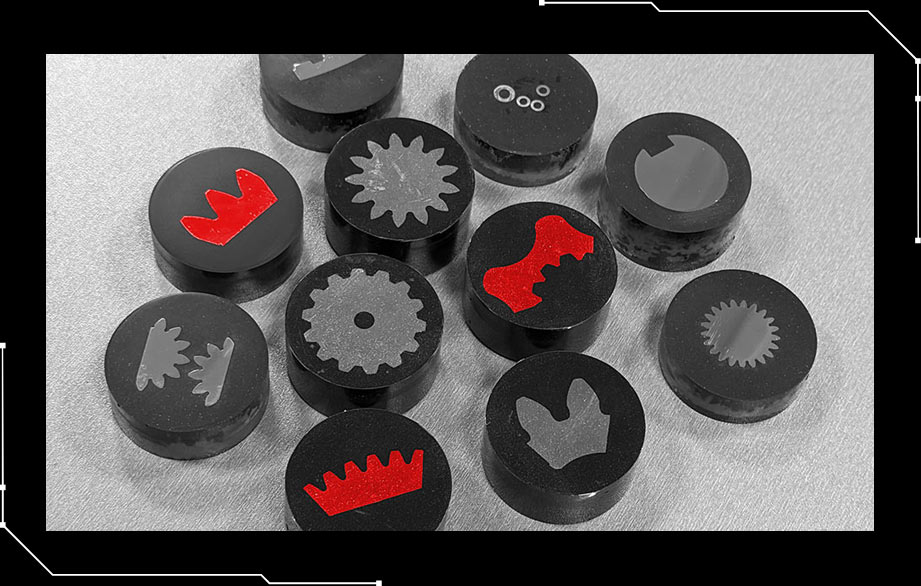
METALLOGRAPHIC SPECIMEN
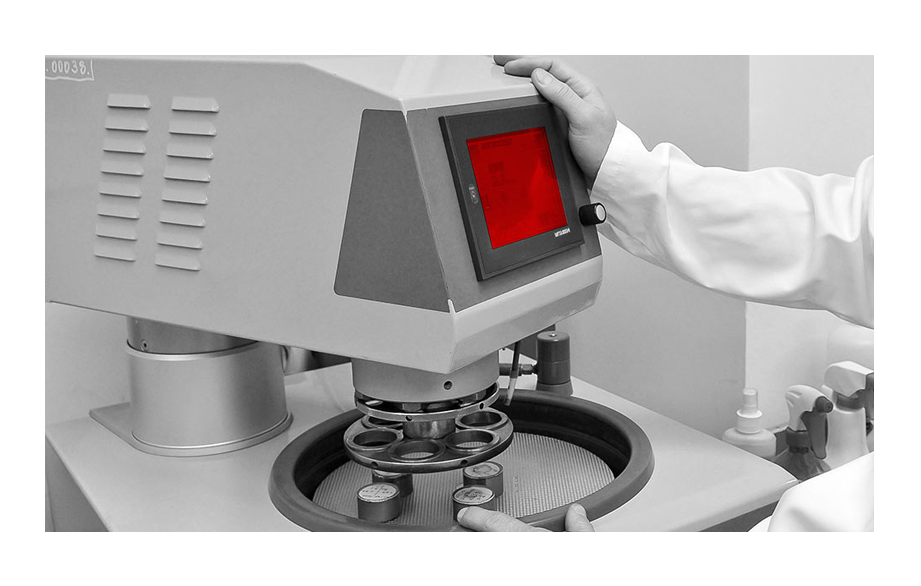
In the SECO/LAB laboratory, we have the necessary equipment for metallographic preparation of ferrous and non-ferrous metals.

Precision equipment for sampling metal products; the SERVOCUT 401-AA metallographic cutter (performs rough cutting of large-sized details) and the ATM BRILLANT 220 cutter (enabling accurate sample collection), allows our technicians to obtain research material from every place on the tested detail.
We perform metallographic specimen analysis using both hot and cold methods by precision mounting the test specimen. ATM SAPHIR 550 and Tergamin – 30 Struers metallographic grinding and polishing machines and a wide range of abrasive papers, grinding discs, polishing cloths and polishing pastes guarantees that our lab can create the ideal metallographic surface.
We etch microstructure elements using chemical reagents, that we usually prepare ourselves. Moreover, if it is necessary to observe brittle layers or layers with low adhesion to the substrate, we cover the detail with a protective layer using the galvanic method. The equipment used for preparation is modern, supplied and serviced by recognized brands producing laboratory equipment. Additionally, the extensive experience of our team means that sample preparation has a minimal impact on the results of tests carried out in the SECO/LAB laboratory.

METALLOGRAPHICAL TESTS
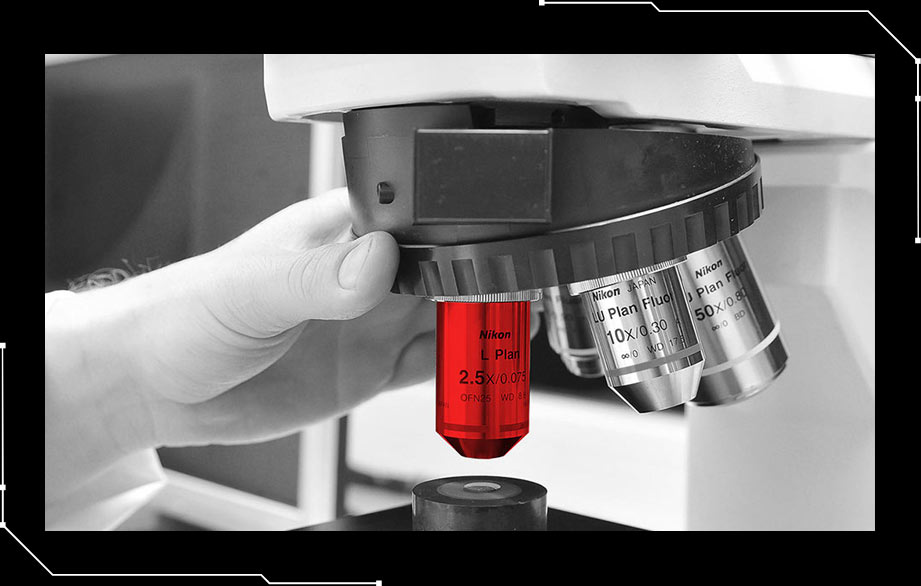
We perform microstructure tests using a light microscope equipped with 5 objectives with magnifications of 2.5x/10x/20x/50x/100x, which enables observations of the microstructure with a maximum magnification of up to 1000x. We can observe samples in the bright field and in the dark field. The microscope is equipped with an analyzer and a light polarizer. The high-resolution Nikon DS.-Fi3 camera together with the NIS Elements microstructure analysis program allows us to:
- Take photos with a magnification above 1000x in high resolution,
- Analysis of the heat treatment effects on the metal products;
- Determination of porosity,
- Conducting quantitative and qualitative analyses of microstructure components,
- Measurement of the layers and coating thickness and assessment of their uniformity,
- Grain size measurement, also of primary austenite,
- Assessment of segregation of carbides, nitrides and other inclusions,
- Microstructure defects such as microcracks, inhomogeneities, non-martensitic transformation products and many others.

HARDNESS MEASUREMENTS
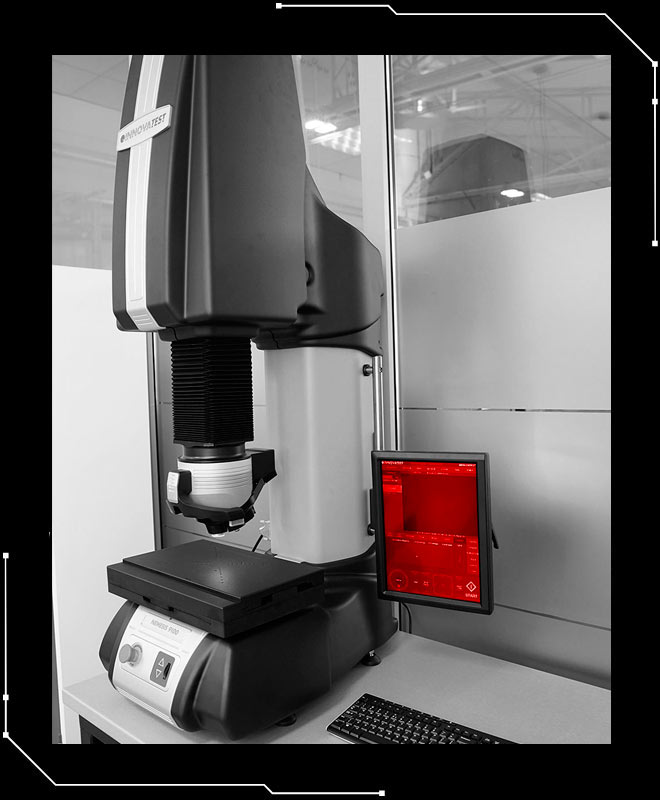
SECO/LAB is equipped with 4 hardness testers with vices, prisms and holders, thanks to which we perform accurate hardness measurements on metal products of various shapes and sizes.
We carry out research:
- Using the INNOWATEST Nemesis 9101 hardness tester, with a movable measuring table, it is possible to place a detail of large weight and dimensions. It is equipped with a 0.7x/2.5x/10x lens, full HD camera, laser and LED lighting, and is controlled using IMPRESSIONS™ software. Hardness measurements are carried out in manual and automatic mode using the following methods:
- Vickers HV with loads from 0.5 kg to 120 kg,
- Rockwell in scales: HRA, HRC, HR15N, HR30T, HR45N,
- Brinell for loads from 1 to 250 kg. Measurements are made using a ball with a diameter of 2.5 or 5 mm.
- The Struers DuraScan hardness tester, controlled using ecos Workflow software, is equipped with a movable measuring table, a camera and lenses with magnifications of 10x/20x/60x. Performing measurements in automatic and manual mode is possible, as well as measurements using the Knoop HK and Vickers HV methods, with loads from 0.01 kg to 10 kg. The unit is perfect for precise measurements of the carburized and nitrided layer’s effective thickness. We can program measurement paths, which makes working with the hardness tester exceptionally efficient.
The SECO/LAB metallographic laboratory operates like the best-organized research center in the industry, where the condition of the equipment and the regulations for their handling in individual tests are set by industrial standards. All instruments in the laboratory are regularly calibrated by entities accredited in this field. Each furnace has a set of checking standards and a startup procedure before measurement. What’s more, each of them has its own “twin” in case of a failure or other random event. We follow the “double-check possibility” approach, thanks to which we ensure the continuity of the laboratory tests.

